Showing posts with label crafting. Show all posts

Friday, September 30, 2011

Saving a candle


I love scented candles. I think that's why I love going into Aveda or Anthropology...it's always scented in their stores. I usually get soy candles since they burn longer, at lower heat, and clean. A few years back I found Wicked Bean at my local farmer's market. I instantly fell in love with their unique scents - White Tea Cactus, Winter Sage, and Chardonnay & Apricots. Sandra, the founder taught me to light candles for at least long enough for the top layer to pool. That way you get a complete burn vs a hole down the middle. I thought this hold true with all candles, nope. I got a soy candle from Pottery Barn as a gift and no matter how long I burn the darn thing, it doesn't seem to pool the top layer. It's a total waste that probably 1/2 of it is left.

Solution:
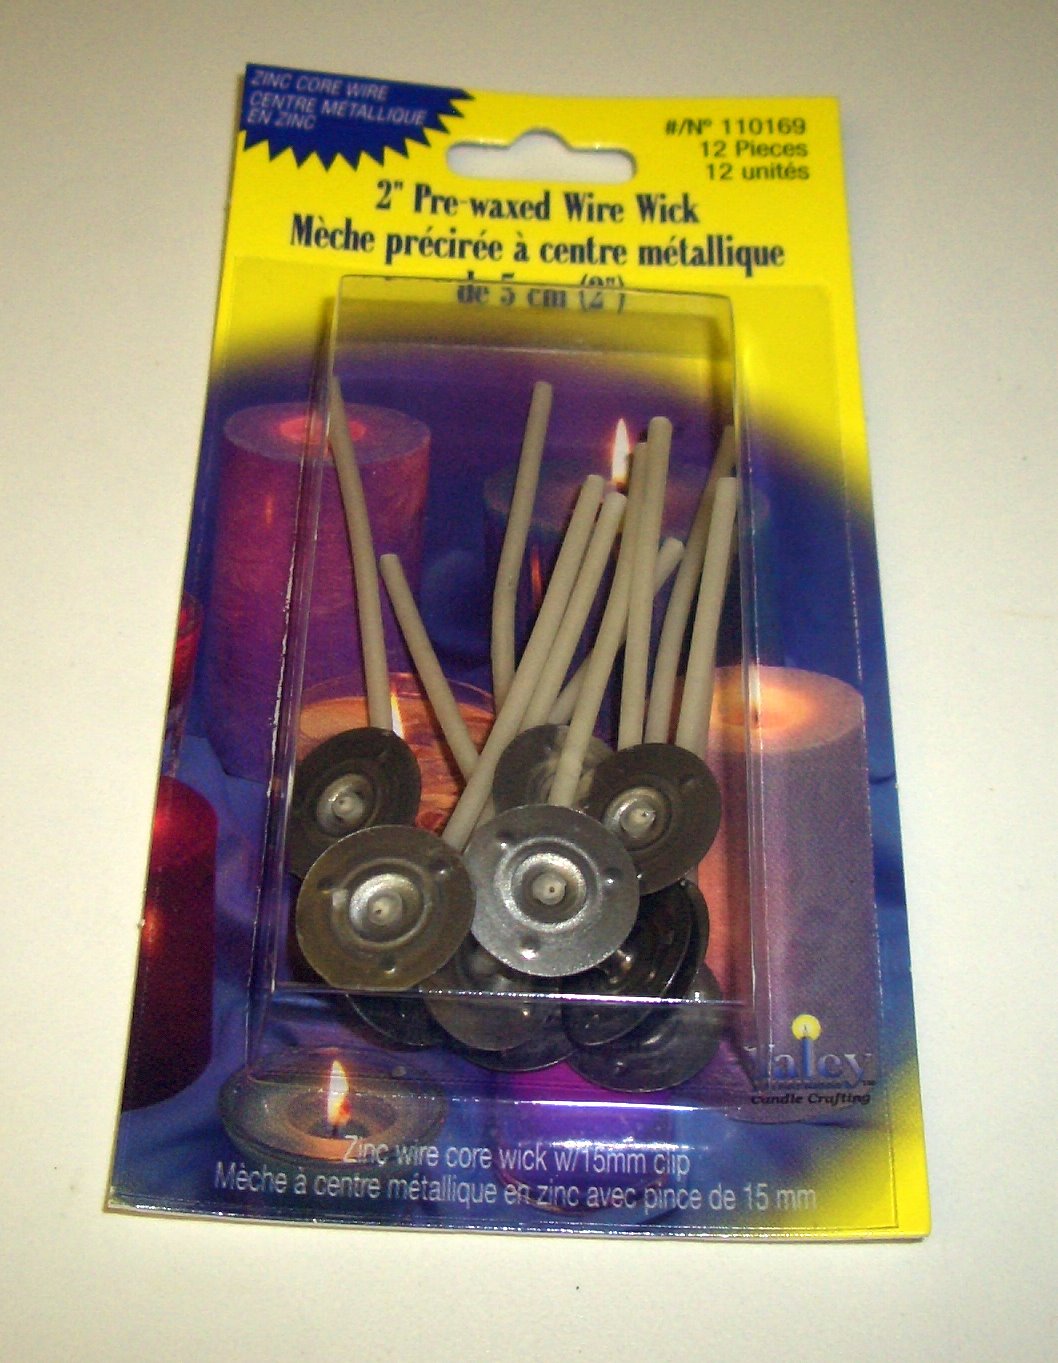
Put the candle in the microwave to melt down the soy wax.


Drop in a wick and wait.
Ah ha!
Posted by Picasa

Wednesday, September 14, 2011

Hippie Chic


I made these wrapped bracelets using the tutorial on Honestly WTF. Since I was out of town and couldn't find the supplies listed, I modified my materials using hemp cord instead of waxed linen, 2mm cotton cord instead of Greek leather, and plastic bead trim instead of ball chain. Looks just as great for a fraction of the price! I'll be trying out the rhinestone version for some extra bling.


Posted by Picasa

Monday, September 12, 2011

Bird Cage Veil

Bird cage veils are all the rage these days with brides. My sister wanted one for her wedding to my surprise. You can find them all over Etsy and at Bridal Salons. We felt a little hesitant if it would work with her dress and didn't want to spend a small fortune on it. We found a great tutorial on ProjectWedding.com and I ordered supplies from on GS Boutique on Etsy.  Total cost was less than $8.00!  It totally completed her look : )
Posted by Picasa

Tuesday, September 6, 2011

Fabric Button Magnet


I keep a bag full of scraps from previous projects knowing that one day I can use it for something. Last night I made fabric button magnets. To make your own fabric buttons, you can pick up one of these kits from Joann's. I used pliers to pull off the button loop in the back and glued little round magnets to the back using my E-6000.


Posted by Picasa

Tuesday, August 30, 2011

Making a bow hair clip

Make pretty preppy pinwheel bows for hair clips or head bands.
Supplies:
5/8 in ribbon
3/8 in ribbon
aligator hair clip
hot glue gun
fray check
measuring tape or ruler
cardboard or cardstock


First create your bow template. I made mine 3 in wide and 2 1/4 tall. Then cut a slit in the middle. I just drew a line down the middle to guide my cut.

Clip the end of your ribbon on the template and wrap.

When wrapped around creating 2 loops on either side, clip in place and cut the ribbon.

Stitch in the center of the ribbon using your slit as a guide.

When you're done, it should look like this.

Slide off the template.

Pull the thread tight and it will create a bow.

Wrap the thread around the center to hold in place.

Tie off the thread and you'll have a bow looking like this.

Using the 5/8 in ribbon, tie a simple knot.

Hot glue the knot on the center of the bow, covering the thread.

Attach the bow on to a clip with a dab of hot glue.  I pre-wrapped mine with the 3/8 width ribbon so the metal is covered to protect the head.


I just put a bit of hot glue to attach and wrap the knot over the top of the hair clip to secure.


Give yourself a pat on the back for making a beautiful timeless hair accessory for that special little girl in your life.

Here are samples of some others I've made:


Posted by Picasa

Friday, August 19, 2011

Fine tuning the jeresy knit bow


Okay, after tinkering a little bit more with what I had...I think I'm finally happy with what this version.

I'm working with a BIG roll of jersey knit that's 1.5 wide. I've cut them down to: 1.5 x 3 strips. 


Feed a needle through each strip back and forth...with strip overlapping the last.


When completed with last strip, pull thread tight so you cinch the pieces into a bow.

Wrap your thread around center a couple times, secure and tie off.


Take another strip 3/4 x 2 and tie a knot to cover your thread. You can either hot glue in place or sew the seams.

For a fuller bow/flower - use more strips. This is what 4 strips of fabric will produce in fullness. I wouldn't use less than 4 for jersey knit because your bow will look sad and wilted.

I guess you can use other fabrics to create the same effect. I'll try and report back.


Posted by Picasa

Thursday, August 11, 2011

DIY Play Dough


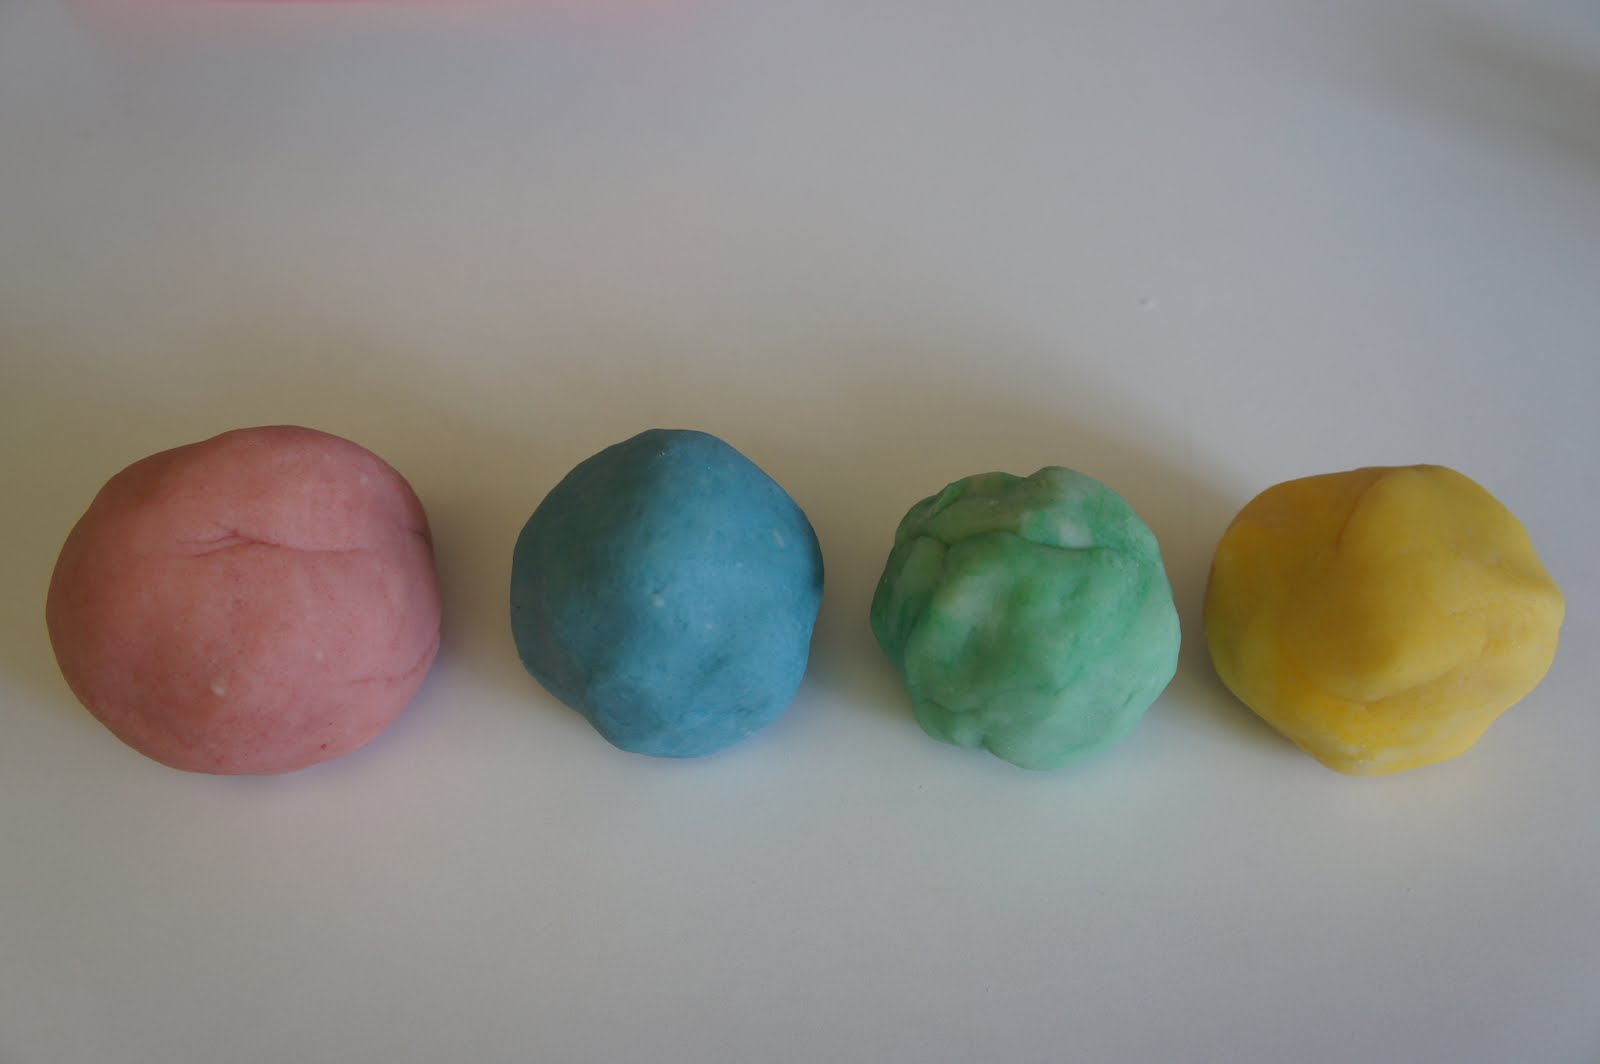
Got this recipe via Instructables to make a batch of play dough for the little Piggie. I only made a half batch as a trial run. I used a couple drops of The Body Shop's diffuser oil to give it a nice pretty smell. It was what I had on hand. I guess if ingested, it will have little impact since it's so diluted. Anyway, I made mine in pastels...she didn't care to go too vibrant in colors.


Wednesday, August 10, 2011

Jersey Knit Accessories


I found this roll of pink and white stripe knit in LA couple weeks ago and instantly thought of a couple accessories posts.  The first that immediately came to mind was Lil Boo Blue's Pom Pom hair accessories.  Then I remembered V and Co's bracelets.  I was super excited try making these.

My first attempt at the pom pom was pretty sad.  I followed the tute but modified the cut pieces based on the width that I had...I went 5/8 x 5.  The pom pom wasn't full enough. 


So my second one I tied it off to give it a bow effect.  Still am not lovin it.


My 3rd I went for a smaller one: 5/8 x 2 1/2.  Much better!


With extra pieces I had cut, I tried something else.  I layered 3 loops and sewed in the middle to create a bow and then tied a knot around it.  I'll probably just hot glue it onto a head band.  Cute!


I had to modify my bracelet tho. I have small wrist and don't normally wear bracelets.  Even using the tute's thinnest version, it was too chunky for me. 


So I just braided mine, like the necklace I made a while back.  There's a few tutes online including Lil Boo Blue and Cakies


I also saw a cute version for kids and adding a bow instead of a knot to hide the seams (as soon as I remember where I saw it, I will provide a link).  So here's the mini I made for the Piggie.